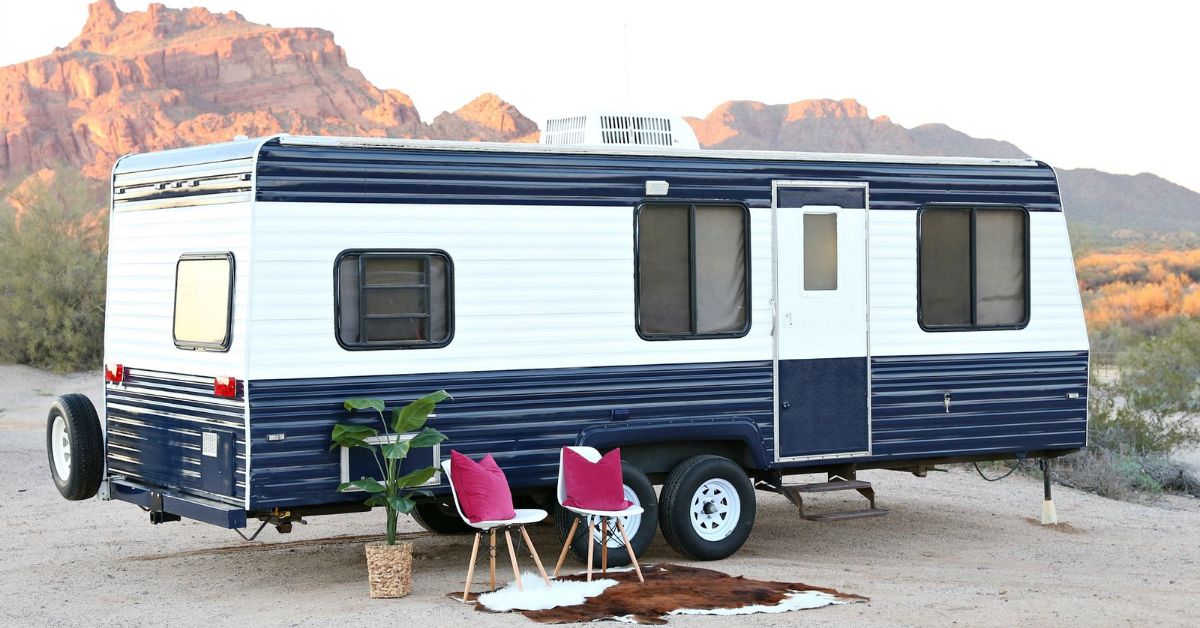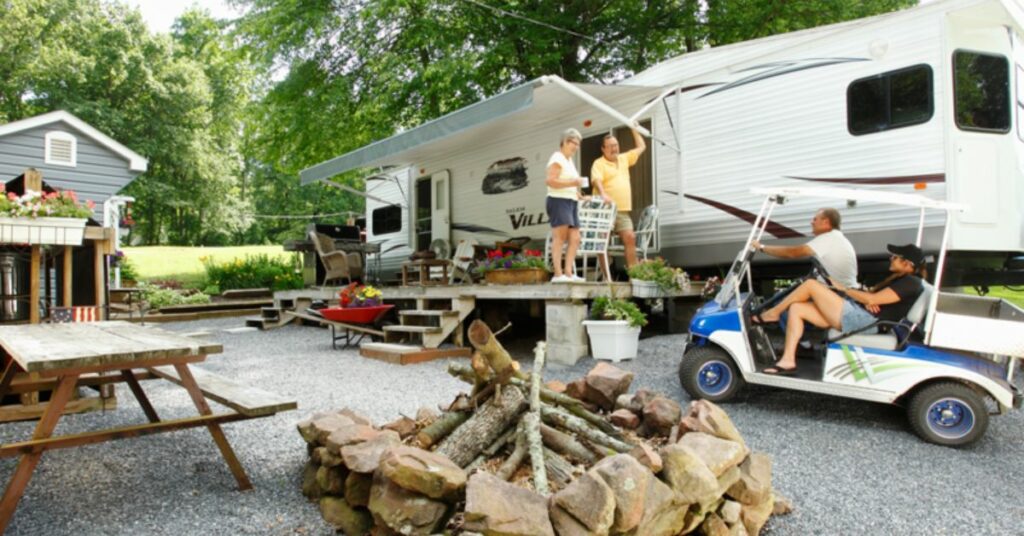
Spring is finally here, and it’s time to dust off the winter blues and hit the road! However, before you set off on your next adventure, knowing how to dewinterize your RV is as essential as winterizing it. Dewinterizing ensures that your motorhome, travel trailer, or camper is safe, clean, and ready for another worry-free camping season. It’s the perfect opportunity to inspect, clean, and recharge every part of your RV that sat dormant all winter.
At SS RV Buyers of All, we help RV owners across Texas to make wise decisions whether they’re buying, selling, or prepping for a road trip. In this guide, we’ll show you the best techniques for dewinterizing an RV. That also includes easy-to-follow tips for your water, battery, and propane systems.
Let’s get your camper adventure-ready with these fast and effective steps!
What Is Dewinterize RV: Hello Road Trips!
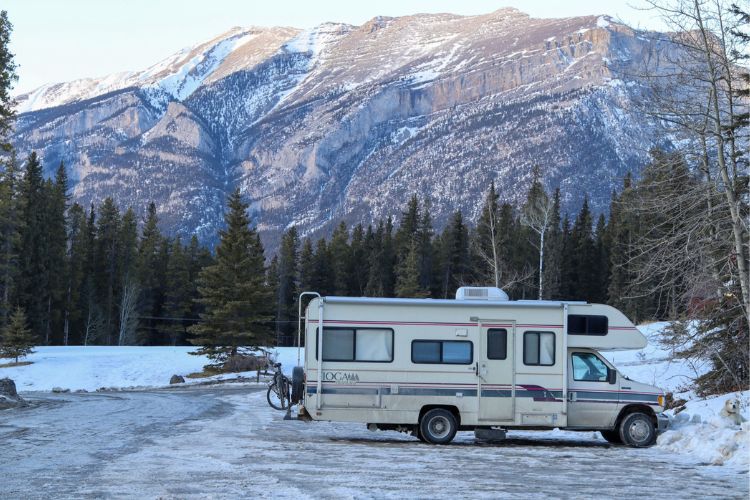
Dewinterizing your RV means reversing the steps you took to prepare it for winter storage, so it’s safe, clean, and fully functional for travel and camping again.
Here’s what it typically involves:
- Flushing out antifreeze
- Reconnecting and sanitizing
- Cleaning the interior
Learning to dewinterize your RV for camping is essential to keeping it in excellent condition. This process ensures every system is clean, safe, and functional before your next trip.
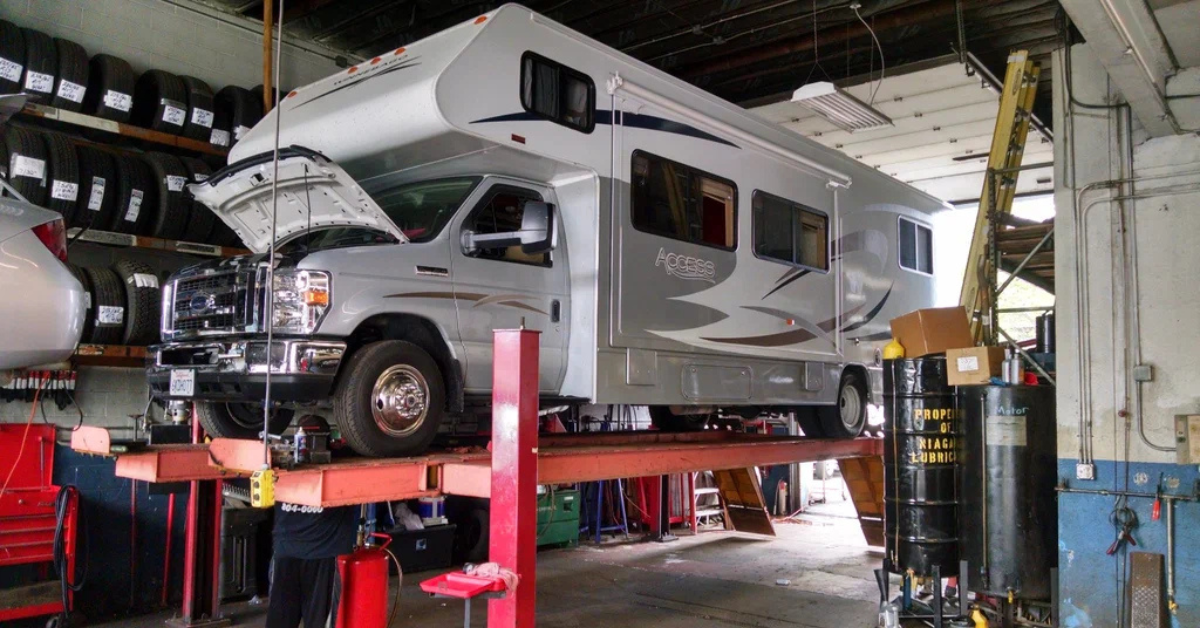
1. Inspect RV Exterior
Even light snow and ice can cause small cracks or wear on the sealant. Look for signs of rust, separation in seams, or damage to roofing and windows that also increase the rv lifespan.
Benefits
- Prevent leaks with early detection
- Prolong the life of your RV roof and walls
- Avoid costly mid-season repairs
2. Check & Charge Battery
Cold storage can drain battery power and may affect its ability to hold a charge. While dewinterizing a camper, charge it fully and inspect the terminals for corrosion.
Advantages
- Ensure all appliances power up correctly.
- Prevent battery failure while on the road
- Extend battery life with proper recharging
3. Flush the Water System
Flush out any leftover antifreeze and sanitize the freshwater system. Use RV-safe products and make sure all tanks and lines are clean and leak-free.
Upsides
- Ensure clean, safe drinking water.
- Prevent a bitter taste from old antifreeze
- Clear any residue in tanks and pipes
4. Refill Tanks & Check for Leaks
Winter storage can dry out seals, potentially leading to leaks. If you are dewinterizing an RV, use a soapy water solution to do a bubble check around valves and connections.
Gains
- Safe operation of your stove and heater
- Catch leaks early for peace of mind
- Prevent fire hazards or explosions
5. Examine Tires for Pressure
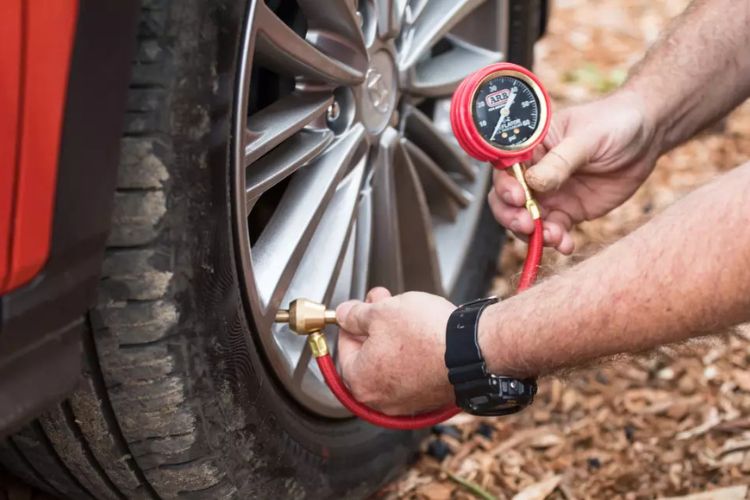
Tires lose pressure during cold months and may develop flat spots. Blow up to the recommended PSI and check for dry rot or sidewall damage.
Assets
- Reduce blowout risk while driving.
- Improve fuel efficiency
- Ensure safe handling and braking.
6. Test Lights & Electrical Systems
Wiring can corrode or loosen during storage. Test interior and exterior lights, outlets, and appliances before hitting the road.
Rewards
- Confirm all signals and brake lights work
- Prevent shorts and electrical failure
- Keep you visible and legal on the road
7. Clean Out Vents & Air Filters
Dust, mold, or critters may have accumulated in the vents. Remove and clean filters, and inspect for any signs of nests or blockage.
Plusses
- Improve air quality
- Boost A/C and heater performance
- Keep your RV smelling fresh
8. Emergency & Maintenance Supplies
Check toolkits, spare bulbs, fuses, and first-aid kits. Replace expired items and ensure essentials like flashlights and batteries are ready when it comes to dewinterizing a camper.
Bonuses
- Prepared for unexpected road issues
- Avoid store runs during your trip
- Keep you and your passengers safe
9. Sanitize Kitchen & Bathroom
These areas require extra care after months of disuse. Replace expired items and ensure that essentials like flashlights and batteries are readily available.
Payoffs
- Prevent mold, bacteria, and smells.
- Ensure your family’s health and comfort.
- Maintain the resale value of your RV
10. Slide-Outs and Lubricate Seals
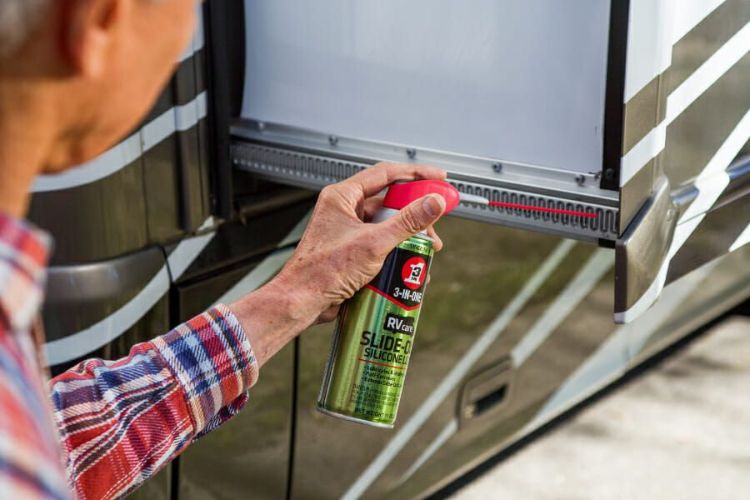
Frozen seals may crack and lose flexibility. Use silicone-based lubricants and check for alignment or resistance when extending.
Wins
- Smooth operation of slide mechanisms
- Prevent water intrusion
- Extend component life
11. Hot Water Heater
Reinstall the drain plugs and pressure relief valves before turning it on. Double-check for any signs of leaks to ensure a safe and smooth system restart.
Dividends
- Ensure a reliable hot water supply.
- Prevent leaks or heating issues.
- Get your RV shower-ready for trips.
12. Test Smoke and CO Detectors
Safety alarms may need fresh batteries or replacement. Don’t forget to test all safety alarms to ensure they’re fully operational before hitting the road.
Value-adds
- Maintain safety for everyone on board.rd
- Avoid issues during campground inspections
- Protect against fire or gas hazards
Ready For Road: Smart Moves For Dewinterizing A Camper
A thorough cleaning goes hand in hand with de-winterizing an RV. That ensures you complete the following cleaning tasks before your spring adventures begin.
-
- Scrub the Outside: Wash exterior walls and the roof to remove winter salt, grime, mildew, and road residue that can damage paint and seals.
- Deep Clean: Vacuum floors, wipe down surfaces, and clean out vents, especially under cushions and in tight corners.
- Clear Out the Clutter: To eliminate musty odors, empty all storage spaces and sanitize bins, shelves, and drawers.
- Freshen the Refrigerator: Replace the outdated baking soda boxes and sterilize the freezer and refrigerator.
- Take Care of the Floors: To give your RV a brand-new appearance for the upcoming season, shampoo the carpets and mop the hard floors.
- Polish Windows: To ensure clear views and a leak-free ride, clean both the inside and outside of the windows and inspect the seals for cracks.
Ending Touch
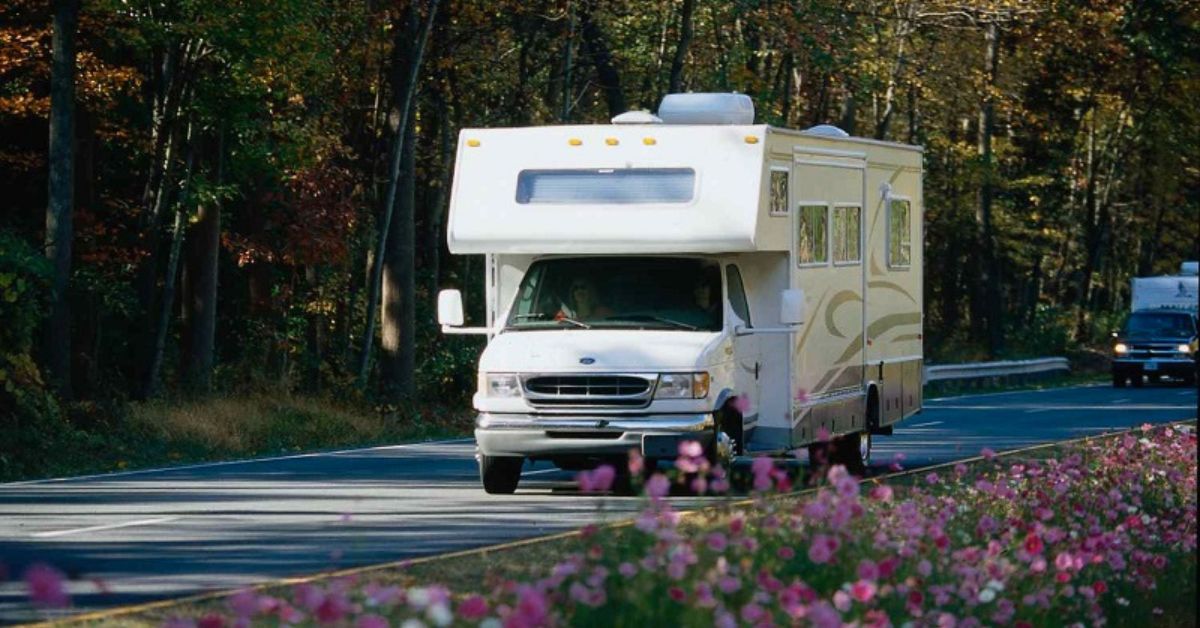
You can travel stress-free this spring now that you know how to de-winterize a travel trailer. These quick and simple steps can save you time and trouble, whether you’re performing routine checks or going into full maintenance mode.
Making the effort to prepare can prolong the life of your vehicle and improve the enjoyment of every journey, from winterizing a camper to cleaning the systems in your trailer. We’re prepared to help with excellent offers and expert service if you’re in Texas and looking to sell or upgrade your property.
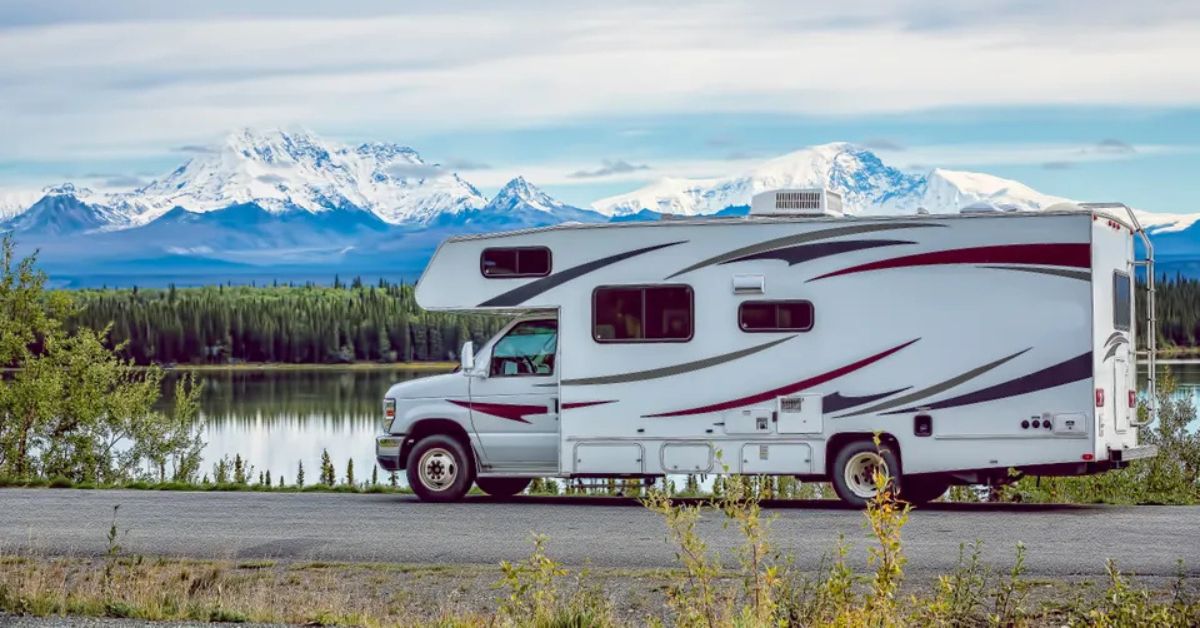
Ready to roll into spring? Let us help you trade up or cash out—stress-free and on the road!
Frequently Asked Questions (FAQ)
- How often should I dewinterize my RV?
It’s recommended to dewinterize your RV at the beginning of each camping season, typically in spring, to ensure that the systems are functional.
- Can I dewinterize my RV by myself?
Yes, with the right tools and knowledge, you can dewinterize your RV yourself. However, if you’re unsure or uncomfortable, it’s best to consult a professional.
- How do I know if my RV’s battery needs to be replaced?
If your RV’s battery shows signs of corrosion, doesn’t hold a charge, or is over 3-5 years old, it may be time to replace it.
- Why is it essential to sanitize the water system?
Sanitizing the water system removes any bacteria, mold, or contaminants that may have developed during storage, thereby ensuring the safety of drinking water.
- What should I do if I find a propane leak?
If you detect a propane leak, turn off the gas supply right away and get in touch with an expert. Never attempt to repair a propane leak on your own.